반응형
- build.gradle 에 다음을 추가
apply plugin:'war'
bootWar{
	archiveBaseName="helloWorld"
	archiveFileName="hellwWorld.war"
	archiveVersion="0.0.0"
}
- ServletInitializer 클래스 생성
package com.example.helloWorld;

import org.springframework.boot.builder.SpringApplicationBuilder;
import org.springframework.boot.web.servlet.support.SpringBootServletInitializer;

public class ServletInitializer extends SpringBootServletInitializer {
    @Override
    protected SpringApplicationBuilder configure(SpringApplicationBuilder application) {
        return application.sources(프로젝트명.class);
    }
}
- 인텔리제이에서 CTRL 키를 두번 누른다.

클릭하여 war 파일 생성
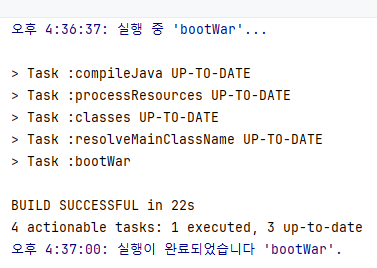

그 다음 톰캣 webapps 에 ROOT.war 로 업로드 하면 다음과 같이 ROOT 디렉토리로 압축이 해제된다.

반응형
'웹프로그래밍 > 스프링부트' 카테고리의 다른 글
| 스프링부트] 로그인 기능 구현하기 (1) | 2023.10.30 |
|---|---|
| 시놀로지 나스에 도커 + 톰캣 설치 후 스프링부트 프로젝트 배포 방법 (0) | 2023.10.13 |
| 20. MySql 로 변경 방법 (0) | 2023.10.06 |
| 19. 웹페이지에서 댓글 삭제하기 (0) | 2023.10.06 |
| 18. 웹 페이지에서 댓글 수정하기 (0) | 2023.10.06 |